Calligraphy Color Mixing Techniques: Transform Your Writing into Art
Are you looking to add a burst of color to your calligraphy pieces? Did you know that you can create your own colored inks by mixing gouache? In this article, we will explore the fascinating world of calligraphy color mixing techniques.
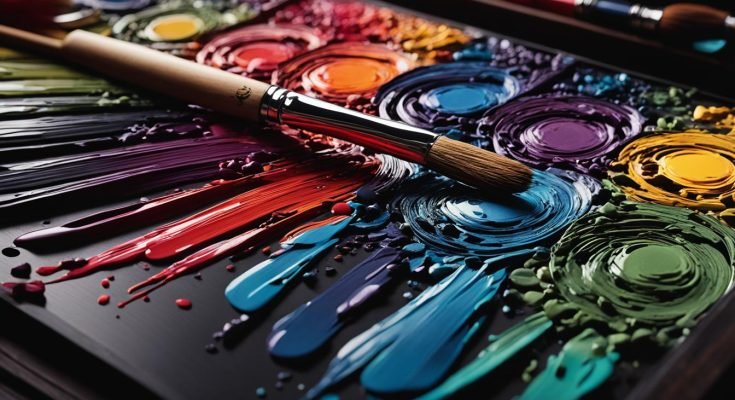
Arteza gouache is an excellent choice for adding beautiful colors to your calligraphy. With a wide range of hues available, you can unleash your creativity and bring your lettering art to life. By mixing gouache with water, you can create your own colored ink in just a few simple steps.
Start by gathering the materials you will need: an ink jar, gouache, water, a stirrer, and optional gum arabic. Squeeze a small amount of gouache into the ink jar and add water. Mix thoroughly until the gouache is fully dissolved. Test the ink on your paper and adjust the consistency by adding more water or gouache as needed. Adding gum arabic is also an option to prevent smearing after drying.
When it comes to mixing colors in calligraphy, experimentation is key. Start with a base color, like gouache, and gradually add water to achieve the desired shade and opacity. Whether you prefer a smoother flow or a richer color, adjusting the water-to-paint ratio can help you achieve the perfect blend.
Take the time to explore different color combinations and see how they interact on different types of paper. Some colors may blend beautifully, while others may create striking contrasts. By experimenting with various techniques, you can discover unique effects and unleash your artistic potential.
If you’re looking for ready-made colored inks, brands like Winsor & Newton offer a wide range of options. These inks provide crisp and opaque strokes, perfect for adding vibrancy to your calligraphy. However, it’s important to note that colored inks can be thinner and may require additional effort to achieve a consistent flow, especially when working on larger projects. Using watercolor paper can help prevent bleeding and maintain crisp lines.
If you don’t have colored calligraphy ink on hand, don’t worry! You can still create your own DIY colored inks using acrylic paint. Simply choose your desired color, mix it with water in an airtight container, and shake well for the proper consistency. While the results may not be as vibrant or opaque as ready-made colored inks, this method offers a slightly transparent, watercolor-like effect. You can even experiment with other options like charcoal or watercolor paints as DIY calligraphy inks.
Incorporating calligraphy onto oil paintings requires some special considerations. Properly priming the canvas with black gesso can provide good coverage and quick drying time. If you prefer using oil paint for calligraphy, thinning it with a medium like Liquin can help achieve the right flowing consistency. Working on a smooth surface ensures the calligraphy details are crisp, or you can outline the calligraphy separately and fill it in as a picture element on the textured canvas.
Key Takeaways
- Use gouache to create your own colored calligraphy inks by mixing it with water.
- Experiment with different color combinations and adjust the water-to-paint ratio to achieve the desired shade and opacity.
- Consider using ready-made colored inks, like Winsor & Newton, for crisp and vibrant calligraphy strokes.
- If you don’t have colored inks, you can make your own DIY versions using acrylic paint.
- When incorporating calligraphy into oil paintings, prime the canvas properly and consider thinning oil paint with a medium for better flow.
Mixing Colors in Calligraphy: Tips and Tricks
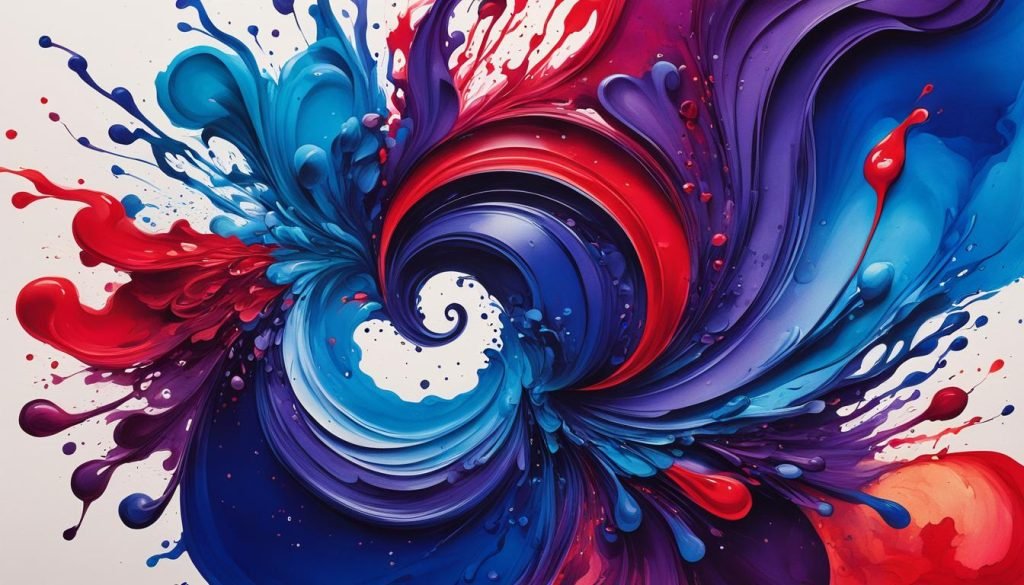
When it comes to calligraphy, color blending can add a whole new dimension to your lettering art. Mixing colors allows you to create unique effects and bring your creations to life. Whether you’re a beginner or an experienced calligrapher, here are some helpful tips and tricks to master the art of color blending in calligraphy.
Starting with a Base Color
To achieve the desired colors in your calligraphy, it’s important to begin with a base color. Gouache is a popular choice as it offers a wide range of vibrant shades. Start by selecting the base color you want to work with and squeeze a small amount onto your palette.
Next, add water gradually and mix it with the gouache to achieve the desired consistency. Adding more water will create a more transparent and diluted color, while adding less water will result in a more opaque and intense shade.
Experimenting with Color Combinations
One of the joys of calligraphy is exploring different color combinations to create stunning effects. Don’t be afraid to mix colors together and experiment with the possibilities. Try blending complementary colors for a harmonious look or contrasting colors for a bold and dramatic effect.
Remember to test your color blends on different types of paper to see how they interact. Each paper surface may yield slightly different results, so it’s important to choose the one that best suits your intention and desired outcome.
Tips for Color Blending in Calligraphy
Here are some tips to help you achieve smooth and consistent color blending in your calligraphy:
- Add more water to your mixture for a smoother ink flow. This can be especially helpful when working with nibs that require a thinner consistency.
- If you want a richer and more vibrant color, add more gouache to your base mixture. This will result in a stronger hue and a more opaque finish.
- To prevent smearing, consider adding a small amount of gum arabic to your mixture. This will increase the viscosity of the ink and ensure it dries quickly and evenly on the paper.
Choosing the Right Surface
The choice of paper can greatly impact the appearance of your color blends in calligraphy. Different papers absorb ink differently, which can affect how the colors interact and appear on the page. Experiment with various types of paper, such as smooth or textured surfaces, to find the ideal one for your style and desired effects.
Recommended Calligraphy Color Blending Tips
| Tips | Description |
|---|---|
| Start with a base color | Choose a base color, like gouache, and gradually add water to achieve the desired consistency and shade. |
| Experiment with color combinations | Mix colors together to create unique effects. Try blending complementary or contrasting colors for different visual impacts. |
| Add more water for smoother flow | If your ink flow feels too thick, add more water to achieve a smoother consistency, especially when using fine nibs. |
| Add more gouache for a richer color | To intensify the hue and create a more vibrant color, add more gouache to your mixture. |
| Use gum arabic to prevent smearing | Consider adding a small amount of gum arabic to your mixture to increase ink viscosity and prevent smudging. |
| Choose the right paper surface | Experiment with different types of paper to find the one that best suits your calligraphy style and desired effects. |
With these tips and tricks, you’ll be able to confidently blend colors in your calligraphy and create visually stunning pieces. Remember to practice and explore different techniques to find your unique style. Happy blending!
Exploring Colored Calligraphy Inks
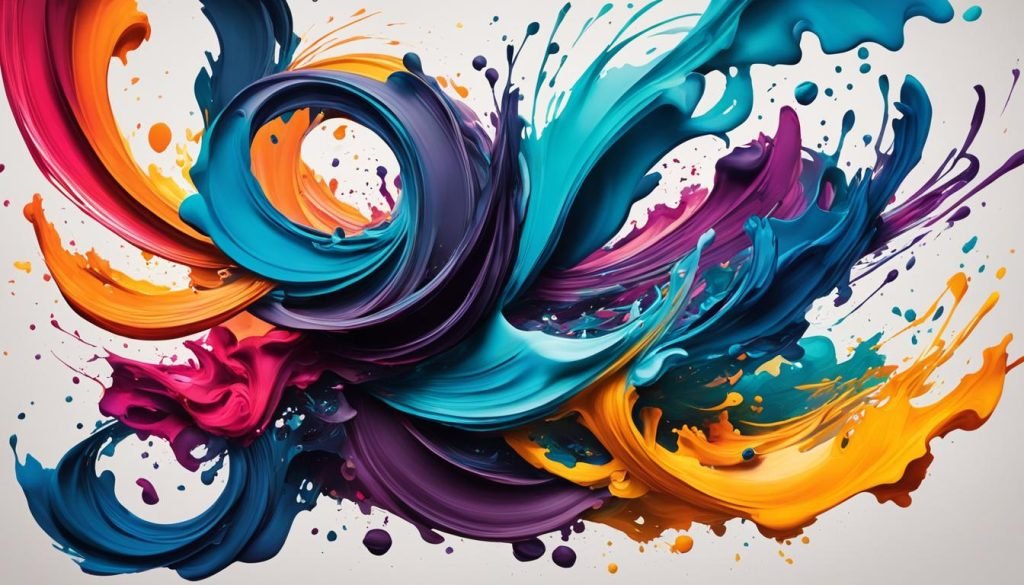
Colored calligraphy inks offer a wide range of options for adding vibrancy to your lettering art. One popular choice is Winsor & Newton pre-mixed inks, known for their opaque and crisp strokes. However, it’s important to note that colored inks can be thinner in consistency and may require additional effort to achieve a consistent flow, especially when working on larger calligraphy projects.
If you’re looking to prevent bleeding and maintain crisp lines in your colored calligraphy, consider using watercolor paper. The texture of watercolor paper helps control the ink flow, resulting in clean and precise lettering. Keep in mind that colored calligraphy inks are not waterproof, so if you plan on using them with watercolor techniques, exercise caution to avoid smudging or bleeding of the ink.
Highlight: The Beauty of Calligraphy Ink Color Blending
“Colored calligraphy inks provide a vibrant palette for artistic expression. Mixing and blending different ink colors opens up endless possibilities for creating unique and striking calligraphy pieces. Whether you’re a beginner or experienced calligrapher, experimenting with color blending techniques can add depth, dimension, and personality to your work.”
The art of calligraphy ink color blending allows you to create custom tones and shades that perfectly complement your lettering style. By combining different ink colors, you can achieve gradients, ombre effects, or even create a marbled look.
When blending colored inks, start with small quantities and gradually mix in the desired amounts of each color. Use a dropper or pipette for precise control and ensure proper mixing. Remember, practice and experimentation are key to discovering the perfect balance and understanding the unique characteristics of each color.
Techniques for Calligraphy Ink Color Mixing
Here are a few techniques to help you master the art of calligraphy ink color mixing:
- Primary Color Blending: Start with the primary colors – red, blue, and yellow – and experiment with different combinations to create secondary colors like purple, green, and orange. This technique is the foundation for exploring a wide range of hues in your calligraphy.
- Gradual Blending: Begin with one color and gradually blend in another by adding small amounts at a time. This technique creates smooth transitions between colors and allows for precise control over the blending process.
- Layering: Apply one color of ink, allow it to dry, and then apply another color on top. This technique creates depth and visual interest in your calligraphy.
Remember, there are no right or wrong color combinations in calligraphy ink color mixing. The process is highly creative and personal, allowing you to express your unique style and create captivating compositions.
DIY Colored Calligraphy Inks
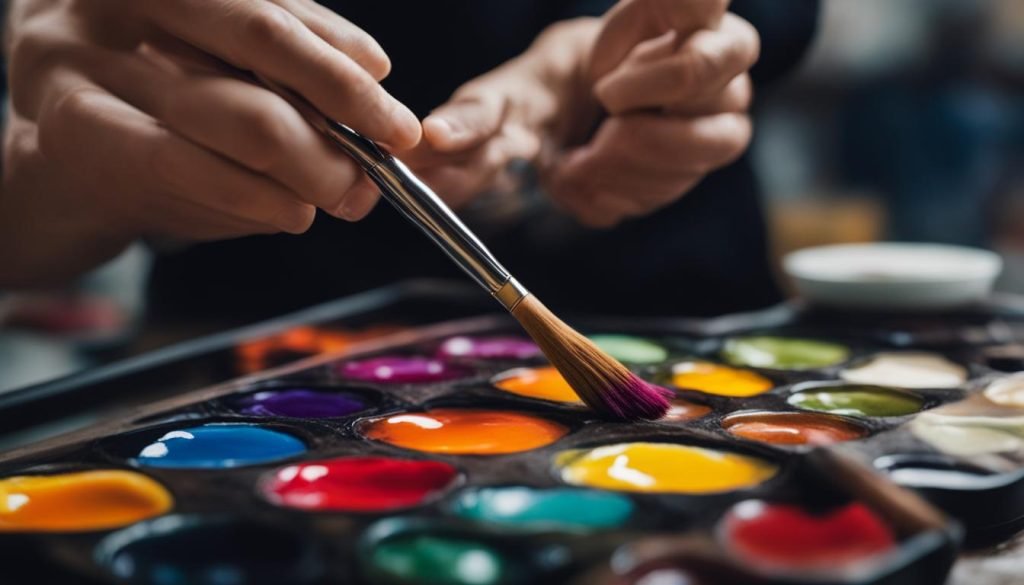
If you don’t have colored calligraphy ink on hand, you can make your own using acrylic paint. Mixing colors in calligraphy allows you to unleash your creativity and achieve unique effects in your lettering art. With a few simple techniques, you can create your own custom colors that perfectly complement your calligraphy style.
To mix your own colored calligraphy inks, follow these steps:
- Start by choosing the desired color of acrylic paint. You can use single pigment paints or mix different colors to create custom shades.
- Dilute the acrylic paint with water in an airtight container. The ratio of paint to water will depend on the desired opacity and consistency. Start with a small amount of water and gradually add more until you achieve the desired thickness.
- Shake the mixture well to ensure proper consistency. The goal is to have a smooth, ink-like texture that flows easily from your calligraphy pen or brush.
- Test the colored ink on a piece of practice paper to see how it looks and flows. Adjust the consistency by adding more paint or water as needed until you’re satisfied with the result.
While DIY colored calligraphy inks may not have the same vibrancy and opacity as ready-made inks, they offer a unique charm and a slightly transparent, watercolor-like effect. This can add depth and dimension to your calligraphy pieces, allowing you to create stunning gradients and blends of colors. Don’t be afraid to experiment with different color combinations and ratios to discover new possibilities.
In addition to acrylic paints, you can also explore other materials like charcoal or watercolor paints as alternative DIY calligraphy inks. These materials can provide different textures and effects, giving your lettering an artistic touch that sets it apart.
So, if you’re feeling adventurous and want to infuse your calligraphy with your own personalized colors, give DIY colored calligraphy inks a try. With a little mixing and experimentation, you’ll be able to create beautiful and unique artworks that truly reflect your individual style and creativity.
Tips for Applying Calligraphy to Oil Paintings
Incorporating calligraphy into oil paintings requires thoughtful consideration and careful technique. Whether you’re using calligraphy ink or opting for oil paint itself, here are some valuable tips to help you successfully marry these artistic elements.
1. Properly Prime the Canvas
To ensure better adhesion of the calligraphy ink, it’s recommended to prime the canvas properly. Using black gesso as a base layer can provide good coverage and quick drying time, allowing you to proceed with confidence.
2. Achieve the Right Consistency
If you prefer using oil paint for calligraphy, achieving the right flowing consistency is crucial. To accomplish this, consider thinning the oil paint with a medium like Liquin. This will help enhance the flow of the ink, making it easier to create smooth and precise calligraphic strokes.
3. Work on a Smooth Surface
When incorporating calligraphy details into an oil painting, it’s essential to choose a smooth surface that allows for clean and precise lettering. Alternatively, you can outline the calligraphy separately and fill it in as a picture element on a textured canvas, enabling the calligraphy to stand out amidst the painting’s texture.
Remember, experimenting and practicing on different surfaces will help you determine the best approach for your specific artistic vision. By combining the textured beauty of oil paintings with the elegance of calligraphy, you can truly create masterpieces that harmoniously blend words with visual art.
Conclusion
Calligraphy color mixing techniques offer endless possibilities for enhancing your lettering artwork. Through experimentation with materials like gouache, pre-mixed inks, and DIY options, as well as varying paper surfaces, you can unlock a world of vibrant and unique color combinations. Whether you choose to create your own colored inks or opt for pre-made options, dedicating time to perfecting your color blending techniques will elevate the beauty and impact of your calligraphy.
Don’t forget to consider the compatibility of colored inks with different surfaces. For instance, using watercolor paper can help prevent bleeding and maintain clean lines. With practice and exploration, you can achieve stunning and vibrant scripts that truly bring your words to life.
So, start immersing yourself in the art of calligraphy color mixing today. Let your creativity flourish as you experiment with different colors, textures, and techniques. Whether you’re a beginner or an experienced calligrapher, the magic of colors will add depth and visual interest to your lettering, making each stroke an artistic masterpiece.
FAQ
Can I use gouache to make my own calligraphy ink?
Yes, you can mix gouache with water in an ink jar to create your own colored ink for calligraphy.
What materials do I need to mix colors in calligraphy?
You will need an ink jar, gouache, water, a stirrer, and optional gum arabic for color blending in calligraphy.
How do I adjust the consistency of the calligraphy ink?
You can add more water or gouache as needed to achieve the desired consistency in your calligraphy ink mixture.
What tips can you offer for color blending in calligraphy?
Some tips include adding more water for smoother flow, adding more gouache for a richer color, and using gum arabic to prevent smearing.
Are colored calligraphy inks waterproof?
No, colored calligraphy inks are not waterproof, so exercise caution when using them with watercolor.
Can I make my own colored calligraphy ink using acrylic paint?
Yes, you can mix acrylic paint with water in an airtight container to create your own colored ink for calligraphy.
How can I incorporate calligraphy onto an oil painting?
It’s recommended to prime the canvas properly and consider using oil paint thinned with a medium for better adhesion and flow.
What options are there for DIY calligraphy inks?
Besides acrylic paint, you can also consider using options like charcoal or watercolor paints as DIY calligraphy inks.
How can I achieve vibrant and unique color combinations in calligraphy?
By experimenting with different materials, color blending techniques, and paper surfaces, you can unlock a wide range of color possibilities in calligraphy.

