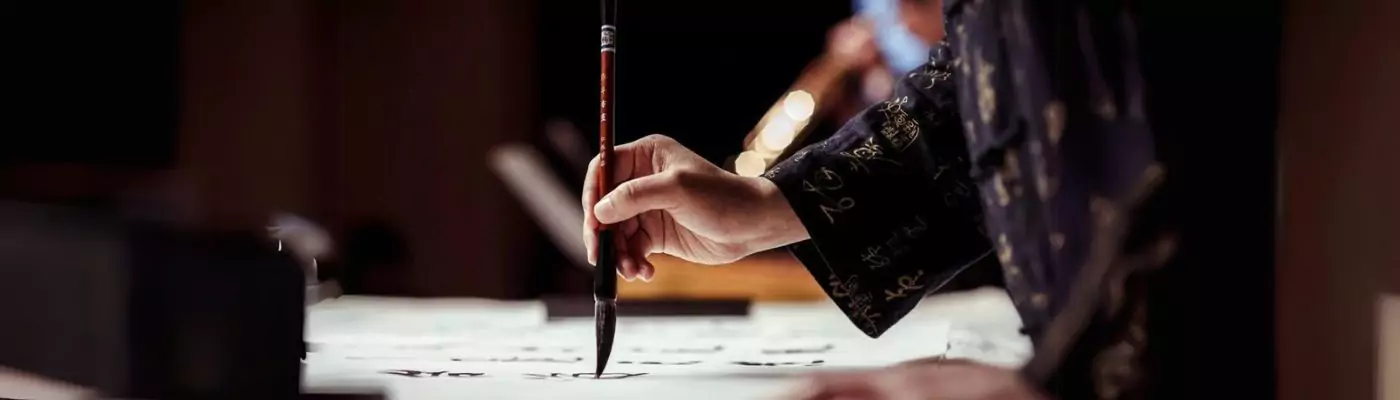

DIY Calligraphy Throw Pillows: Transform Your Home Decor with Artistic Flair
Are you looking to add a touch of elegance and personalization to your living space? Look no further than DIY Calligraphy Throw Pillows. With our easy-to-follow tutorial, you can create stylish and customized cushions that will elevate your home decor. Get ready to combine comfort and calligraphy in a unique and creative way. Let’s dive into the details of this exciting project.
Key Takeaways:
- DIY Calligraphy Throw Pillows are a great way to add a personal touch to your living space.
- With our easy tutorial, you can create customized cushions that reflect your style.
- Calligraphy adds an elegant and artistic element to your home decor.
- Experiment with different fonts, colors, and patterns to create unique designs.
- Transform your living space into a haven of calligraphy-inspired decor.
Materials and Preparation

Before you start creating your DIY Calligraphy Throw Pillows, it’s important to gather all the necessary materials. Here’s what you’ll need:
- Bee’s Life fabric
- Sewing machine
- Thread
- Cutting mat
- Pins
- Rotary cutter
- Plastic snaps
- Snap pliers
- Pillow forms
Once you have your materials ready, it’s time for some preparation. Follow these steps:
- Cut the fabric according to the specified measurements.
- Fold over the back panels to hide the raw edges.
- Press the folded edges in place.
- Sew the folded edges securely.
With these preparations done, you’re now ready to move on to the next step and start bringing your handmade calligraphy pillow covers to life!
“Gather all the necessary materials, prepare your fabric, and get ready to unleash your creativity!”
Sewing the Pillow Covers

With your fabric prepared, it’s time to sew the pillow covers. Follow these simple steps to create beautiful calligraphy throw pillows for your home:
- Lay the front panel right side up and place the back panels, right sides down, on top of it, overlapping the sewn edges. This will ensure that the seams are hidden when the pillow cover is complete.
- Pin everything in place to keep the fabric secure during sewing.
- Sew all the way around the pillow cover, making sure to catch all the layers of fabric. Use a straight stitch and remove the pins as you go along.
- The back panels have an opening, so there’s no need to leave one while sewing.
- Once the sewing is complete, carefully turn the pillow cover inside out to reveal the finished product. Take your time to push out the corners and smooth out the fabric for a neat and professional look.
If you’d like to add some extra flair to your calligraphy throw pillows, consider incorporating creative elements like snaps or buttons. These decorative touches can further enhance the design and make your pillows stand out.
Adding the Finishing Touches

To add a personal touch to your DIY Calligraphy Throw Pillows and enhance your DIY calligraphy home decor, consider adding plastic snaps. These snaps not only add a decorative element but also provide functionality by allowing you to secure the pillow form inside the cover easily. Follow these simple steps to complete your personalized calligraphy cushion:
- Determine the number of snaps you want to include in the outside flap of the pillow cover.
- Using an awl, create holes in the fabric where you want the snaps to be placed.
- Place the snaps in the holes, aligning the male and female parts of the snap.
- Using snap pliers, attach the snaps to the fabric following the instructions provided with the pliers for secure attachment.
- Once the snaps are in place, insert the pillow form inside the cover.
- Close the snaps to securely fasten the cover and complete your personalized calligraphy cushion.
With the addition of these snaps, your DIY Calligraphy Throw Pillows will not only be visually appealing but also functional, allowing for easy insert and removal of the pillow form. It’s the perfect finishing touch to elevate your DIY calligraphy home decor project.
| Benefits of Adding Snaps to Your Calligraphy Pillows |
|---|
| Enhances the overall design of the pillow cover |
| Makes it easy to insert and remove the pillow form for cleaning or storage |
| Allows for customization with different snap styles and colors |
| Provides a professional and polished look to your DIY calligraphy home decor |
By adding these finishing touches, your DIY Calligraphy Throw Pillows will become a focal point of your home decor, adding elegance and personalization to your living space.
Inspiration and Ideas
Now that you know how to create your own DIY Calligraphy Throw Pillows, let’s explore some inspiration and ideas for different designs and styles. You can experiment with different calligraphy fonts, colors, and patterns to create unique and eye-catching pillows. Consider incorporating meaningful quotes, names, or initials to add a personal touch. The possibilities are endless, so let your creativity run wild and transform your living space into a haven of calligraphy-inspired decor.
To help you get started, here are some calligraphy throw pillow ideas:
- Create a monogram design: Personalize your pillows by adding your initials in a stylish calligraphy font. This adds a sophisticated touch to any space.
- Experiment with different colors: Use vibrant or muted colors to complement your existing home decor. Choose colors that evoke the desired mood or atmosphere in your living space.
- Play with patterns: Incorporate patterns such as floral, geometric, or abstract designs to make your calligraphy throw pillows visually interesting and dynamic.
No matter the design you choose, remember to have fun and let your personal style shine through. The beauty of DIY calligraphy home decor is that it allows you to infuse your space with your unique taste and creativity.
“The purpose of art is washing the dust of daily life off our souls.” – Pablo Picasso
Comparing Different Calligraphy Throw Pillow Ideas
| Design | Description |
|---|---|
| Monogram Design | Create a personalized touch by adding your initials in calligraphy. |
| Colorful Palette | Experiment with a variety of colors to match your decor or add a pop of vibrancy. |
| Patterned Pillows | Incorporate visually striking patterns to make a statement in your space. |
Let these ideas inspire you to unleash your creativity and create calligraphy throw pillows that not only add beauty to your home but also reflect your personal style.
Conclusion
DIY Calligraphy Throw Pillows offer a wonderful opportunity to combine the elegance of calligraphy with the comfort of pillows. With our easy tutorial and your creative touch, you can create personalized and stylish cushions that will enhance the aesthetics of your home.
Whether you’re a beginner or an experienced crafter, this project is sure to delight and impress. The process of creating easy DIY calligraphy pillows is not only enjoyable but also allows you to unleash your creativity and add a unique touch to your living space.
Imagine the satisfaction of snuggling up on your couch surrounded by beautifully designed calligraphy pillows that reflect your personality and style. So go ahead, grab your supplies, and embark on this exciting journey of DIY calligraphy home decor. Your living space will thank you for it.
FAQ
What materials do I need to create DIY Calligraphy Throw Pillows?
To create DIY Calligraphy Throw Pillows, you will need Bee’s Life fabric, a sewing machine, thread, a cutting mat, pins, a rotary cutter, plastic snaps, snap pliers, and pillow forms.
How do I prepare the fabric for sewing the pillow covers?
To prepare the fabric for sewing the pillow covers, cut the fabric according to the specified measurements. Fold over the back panels to hide the raw edges, press the folded edges in place, and sew them securely.
How do I sew the pillow covers?
Lay the front panel right side up and place the back panels, right sides down, on top of it, overlapping the sewn edges. Pin everything in place and sew all the way around the pillow cover. The back panels have an opening, so there’s no need to leave one.
How can I add decorative elements to the pillow covers?
You can add decorative elements like snaps or buttons to the pillow covers. Consider adding plastic snaps to the outside flap of the cover. Create holes using an awl and attach the snaps using snap pliers according to the instructions.
Can I customize the calligraphy on the throw pillows?
Yes, you can customize the calligraphy on the throw pillows. Experiment with different calligraphy fonts, colors, and patterns. Consider incorporating meaningful quotes, names, or initials to add a personal touch.
What are some creative ideas for DIY Calligraphy Throw Pillows?
Some creative ideas for DIY Calligraphy Throw Pillows include using different calligraphy fonts, colors, and patterns. You can also incorporate meaningful quotes, names, or initials to add a personal touch to your pillows.
Can I use this tutorial if I’m a beginner in calligraphy and sewing?
Definitely! This tutorial is suitable for both beginners and experienced crafters. It provides a step-by-step guide that is easy to follow and includes basic sewing techniques for creating calligraphy throw pillows.


