Welcome to an introduction to Copperplate calligraphy, a timeless and elegant style of hand lettering. Copperplate calligraphy originated in the 17th and 18th centuries and continues to captivate calligraphers around the world with its graceful script and intricate details.
If you’re a beginner looking to delve into the world of Copperplate calligraphy, this guide is the perfect starting point. We’ll cover the fundamentals, from the essential tools and materials to holding the pen correctly and mastering the sizing and angles of the Copperplate script. By the end of this guide, you’ll be equipped with the knowledge and resources needed to begin your journey into the art of Copperplate calligraphy.
So, let’s dive in and discover the beauty of copperplate handwriting and the artistry of this classic style!
Key Takeaways:
- Copperplate calligraphy is a classic and elegant style that originated in the 17th and 18th centuries.
- It requires specific tools and materials, including dip pens, pointed nibs, inks, and appropriate paper.
- Holding the pen correctly and maintaining proper posture are crucial for achieving beautiful copperplate handwriting.
- The sizing and angles of the copperplate script play a significant role in achieving balanced and proportionate letterforms.
- Practicing basic strokes and following writing rules helps develop proficiency in copperplate calligraphy.
Tools and Materials Needed for Copperplate Calligraphy

In order to practice and master Copperplate calligraphy, you will need a set of essential tools and materials. Using the right equipment is crucial for achieving beautiful and precise lettering. Here are the key items you will need:
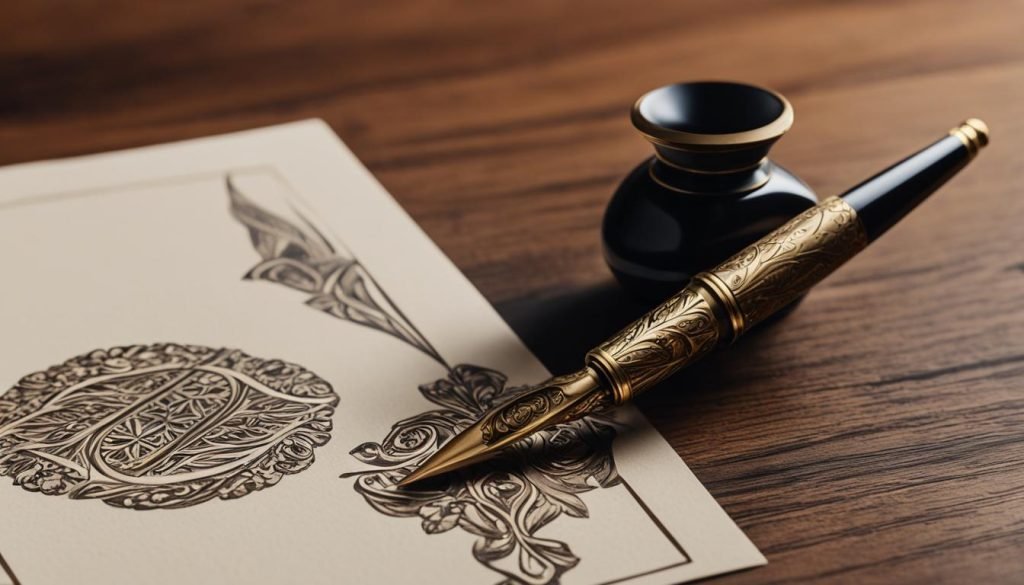
- Pen Holders: There are two main types of pen holders used in Copperplate calligraphy: straight holders and oblique pen holders. Straight holders are suitable for beginners or those who prefer a more upright writing angle. Oblique pen holders, on the other hand, are designed to facilitate the slanted nature of Copperplate script, allowing for better control and smooth strokes.
- Nibs: The nib is the part of the pen that comes in contact with the paper and determines the thickness and character of your strokes. For Copperplate calligraphy, pointed nibs are the most common choice. Hunt 101 and Nikko G are popular pointed nibs that work well for beginners.
- Inks: Choose a high-quality ink that is suitable for dip pens. India ink and sumi ink are commonly used for Copperplate calligraphy because they flow smoothly and dry quickly. Experiment with different colors to add variety to your lettering.
- Paper: A smooth and durable paper is essential for practicing Copperplate calligraphy. Look for a paper that can handle ink without bleeding or feathering. Practice pads, tracing paper, and hot-press watercolor paper are all good options.
If you don’t have access to a dip pen and pointed nib, don’t worry! There are alternatives you can use to practice Copperplate calligraphy. You can try brush pens or markers with flexible tips that mimic the effect of pointed nibs. While these alternatives may not provide the exact feel of traditional Copperplate tools, they can still help you develop your skills and create stunning lettering.
Tip: Investing in quality tools and materials will greatly enhance your Copperplate calligraphy experience. They will make the learning process smoother and allow you to achieve more consistent and professional results.
How to Hold Your Pen and Sit Correctly for Copperplate Calligraphy

In the world of Copperplate calligraphy, mastering the correct pen grip and sitting position is essential to achieve graceful and precise lettering. In this section, we will guide you through the step-by-step process of holding your pen and maintaining the right posture to enhance your Copperplate penmanship.
The Proper Pen Grip
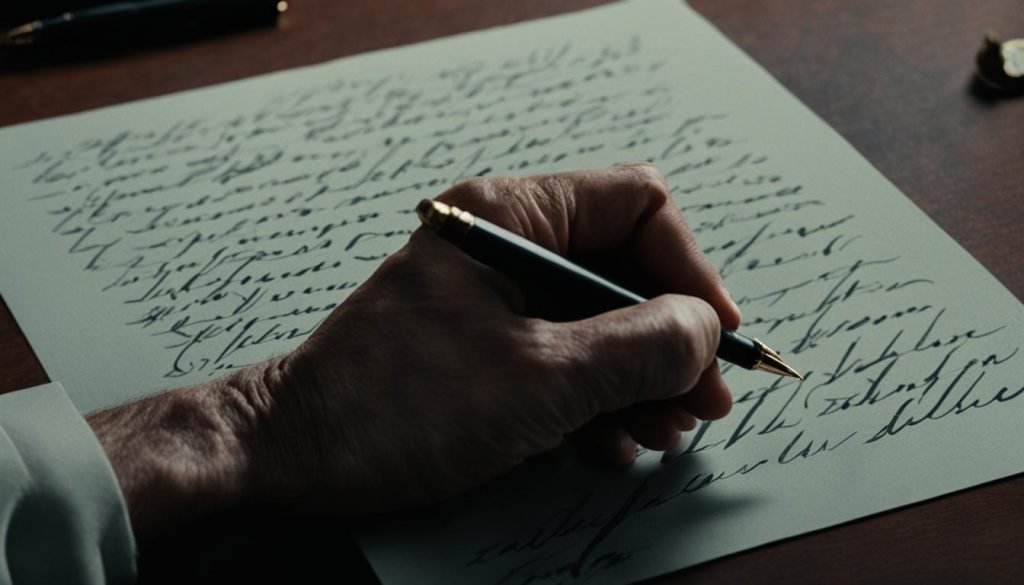
The first key to successful Copperplate calligraphy is finding the right pen grip. Follow these simple instructions to achieve the perfect hold:
- Start by gripping the pen between your thumb, index finger, and middle finger.
- Ensure that the pen sits comfortably on the pad of your middle finger, with the nib facing upward.
- Position your ring finger and pinky finger gently below the pen to offer support and stability.
- Keep your grip relaxed and avoid applying excessive pressure on the pen, as it may hinder smooth and fluid strokes.
Proper finger placement and a relaxed grip allow for better control and movement, enabling you to create the delicate lines and curves that define Copperplate calligraphy.
The Importance of Correct Sitting Position
In addition to the pen grip, sitting correctly while practicing calligraphy is crucial for maintaining focus and precision. Follow these guidelines to ensure you are in the optimal position:
- Keep your back and neck straight, avoiding slouching or hunching over your workspace.
- Place your feet flat on the floor to provide a stable base and promote good posture.
- Position your arms and elbows on the table, allowing for a relaxed and comfortable writing position.
By maintaining a proper sitting position, you minimize the risk of discomfort or strain during long calligraphy sessions and promote a more enjoyable and productive practice.
Sizing and Angles of the Copperplate Script
In the elegant art of Copperplate calligraphy, sizing and angles play a crucial role in achieving the desired aesthetic. Understanding the concepts of copperplate sizing, letter height, letter ratio, and script angles is essential for creating harmonious and visually appealing compositions.
X-Height: Determining Letter Size
In Copperplate calligraphy, the x-height refers to the height of the lowercase letters. It provides a consistent measurement for determining the sizes of other elements in the script. The x-height is typically measured by the height of the letter “x” or “o” in a particular script.
Proportions of Ascenders and Descenders
To maintain balance and proportion in Copperplate calligraphy, it is important to consider the heights of ascenders (such as the letter “h” or “b”) and descenders (such as the letter “g” or “y”). These elements should have appropriate ratios to the overall x-height to create visually pleasing letterforms.
“The proportions of ascenders and descenders should harmonize with the overall letter size, contributing to an aesthetically pleasing composition.”
Letter Height Ratio
The Copperplate script follows a specific ratio for letter heights. The uppercase letters are typically twice or three times the x-height, emphasizing their grandeur and elegance. This ratio ensures clear distinction and visual hierarchy between uppercase and lowercase letters.
Copperplate Script Angles
The inclination of Copperplate letters adds to their grace and fluidity. The script angles in Copperplate calligraphy range from 52 to 60 degrees from the baseline. This slight tilt adds a dynamic and subtle elegance to the script, helping create the signature look of Copperplate calligraphy.
| Aspect | Explanation |
|---|---|
| X-Height | The height of lowercase letters in Copperplate calligraphy. |
| Proportions of Ascenders and Descenders | Ensuring balanced ratios between letter elements. |
| Letter Height Ratio | Proportional difference between uppercase and lowercase letters. |
| Copperplate Script Angles | Range from 52 to 60 degrees for inclined letterforms. |
Understanding the sizing and angles of the Copperplate script allows calligraphers to craft visually captivating letterforms. The meticulous attention to detail gives Copperplate calligraphy its distinctive charm and allure.
Conclusion
In conclusion, this comprehensive guide serves as the perfect introduction to Copperplate calligraphy, a classic and elegant script that has captivated calligraphers for centuries. Whether you are a beginner or have some experience with calligraphy, this guide has covered all the essential aspects to help you get started with confidence.
We began by discussing the tools and materials needed for Copperplate calligraphy, including different pen holders, nibs, inks, and paper options. Having the right supplies ensures a smooth and enjoyable calligraphy experience.
Next, we explored the correct techniques for holding your pen and maintaining the correct posture while practicing Copperplate calligraphy. These foundational skills are crucial for achieving beautiful letterforms and avoiding hand fatigue.
We also delved into the sizing and angles of the Copperplate script, covering the concept of x-height, letter proportions, and the inclination of the letters. Understanding these fundamental principles will help you create harmonious and balanced compositions.
Throughout this guide, we provided valuable tips, downloadable practice sheets, and additional resources to support your learning journey. With dedication and practice, you can unlock the mesmerizing artistry of Copperplate calligraphy and unleash your creativity onto paper.
So, begin your artistic adventure today and immerse yourself in the captivating world of Copperplate calligraphy. With this comprehensive guide by your side, you have all the tools and knowledge to become a master of this beautiful script.
FAQ
What is Copperplate calligraphy?
Copperplate calligraphy is a classic and elegant style of hand lettering that was popular in the 17th and 18th centuries. It is characterized by thin upstrokes and thick downstrokes, creating a beautiful contrast in letterforms.
What tools and materials do I need for Copperplate calligraphy?
To practice Copperplate calligraphy, you will need a pen holder, preferably an oblique pen holder, pointed nibs, ink, and appropriate paper. There are also alternatives for those without a dip pen and pointed nib, such as brush pens or markers.
How do I hold my pen correctly for Copperplate calligraphy?
It is important to hold your pen correctly to achieve optimal control and precision. Hold the pen with a light grip, making sure to position your thumb, index finger, middle finger, ring finger, and pinky in the appropriate places. Maintain good posture and sit comfortably while practicing calligraphy.
What are the sizing and angles of the Copperplate script?
The sizing of the Copperplate script is determined by the x-height, which determines the size of the lowercase letters. The script also has specific proportions for ascenders and descenders. The inclination of the Copperplate letters ranges from 52 to 60 degrees from the baseline.
What have we covered in this guide to Copperplate calligraphy?
This guide has provided an introduction to Copperplate calligraphy, including the tools and materials needed, how to hold your pen correctly, sizing and angles of the script, and writing rules and basic strokes. We have also shared free downloadable practice sheets and additional tips and resources for beginners.


